How to DIY a Cyberpunk Mask Tutorial for Beginner? | Futurfam
Have you ever thought of making your very own fancy cool DIY cyberpunk masks before? To get started, make sure to check out and find all the necessary materials for this project in the description below.
Now, let's go over the materials we'll be working with:
- Tactical mask
- 2P Face shield
- M4 screws
- big horns
- chin part
- Two helmet side rails
- Four pieces of helicopter toy blades
- the "rabbit ears"/antennas
Step 1: Adjusting the Ear Part
- grab your face shield and let's begin by removing any unnecessary parts. For this project, we'll also need two pieces of tissue. The drill bit we'll be using is the 3.5 drill bit.
-Begin by removing the triangular-shaped screw from the middle icon on the side ears of the Jagged Mask.
- Replace it with a longer screw, positioning it at the center of the mouth-shaped buckle.
- Securely fasten the long screw into the original side ear screw hole, ensuring a stable ear part assembly.

Step 2: Creating Holes on Protruding Corners
- Proceed to punch holes on the protruding corners of the mask, as illustrated in Picture 2.

Step 3: Aligning and Attaching Side Components
- Align the mask centrally and punch corresponding holes, as demonstrated in Figure 3.
- Match the holes on the side protruding corners (refer to Figure 2) and attach screws through them, as depicted in Figure 4. Ensure the screws are evenly aligned on both sides.

Step 4: Securing the First Mask Assembly
- Find some suitable screws at a local shop, but they're a bit long, so we'll need to trim them down to size using a metal saw.
- Tighten the screws on both the mask and the protruding corners, completing the assembly of the first mask.

Step 5: Attaching the Second Mask
- Align the second mask to the central position and punch a hole.
- Align the first mask atop the second one and punch a hole on the upper section of the first mask.
- Insert screws into the upper hole of the first piece and the lower hole of the second piece, then tighten them to complete the assembly of the two mask pieces (refer to Figure 5).

Step 6: Finalizing the Mask Assembly
- Securely tighten the screws on both the first and second mask pieces, ensuring a firm and cohesive assembly (as shown in Picture 6).

Step 7: Overall Assembly and Fixation
- - let's focus on the tactical color binder. Remove the existing screws and replace them with 50 millimeter or 10 millimeter screws, depending on the size you need. Align the binder on both sides and secure it in place. Proceed to fix and tighten all the screws across the entire mask assembly.

Step 8: Horns and Tail Fixation
-After attaching the horns, secure the tail with screws to ensure stability and firmness (as demonstrated in Figure 8).
Step 9: Completed Mask
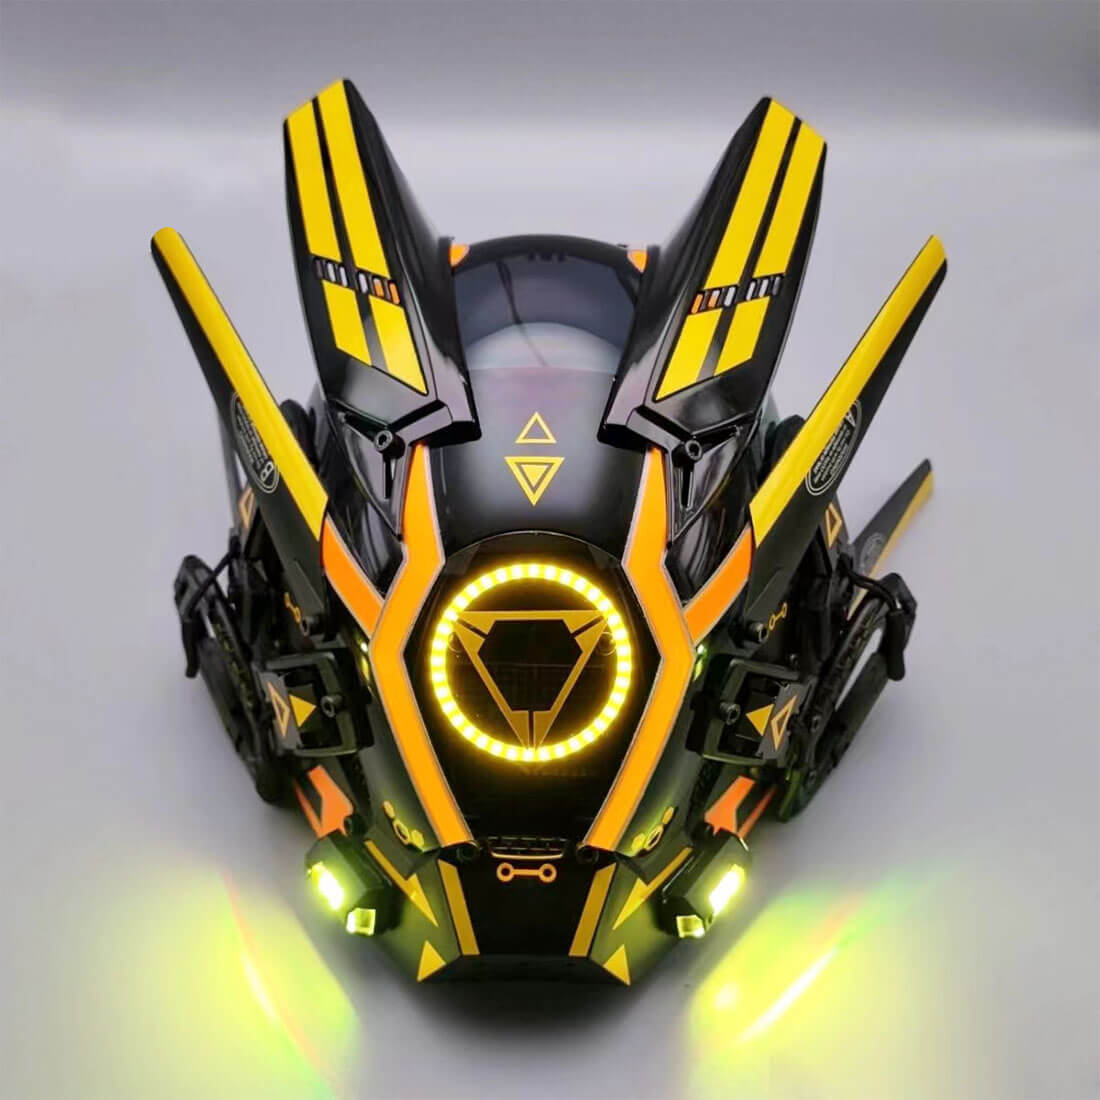
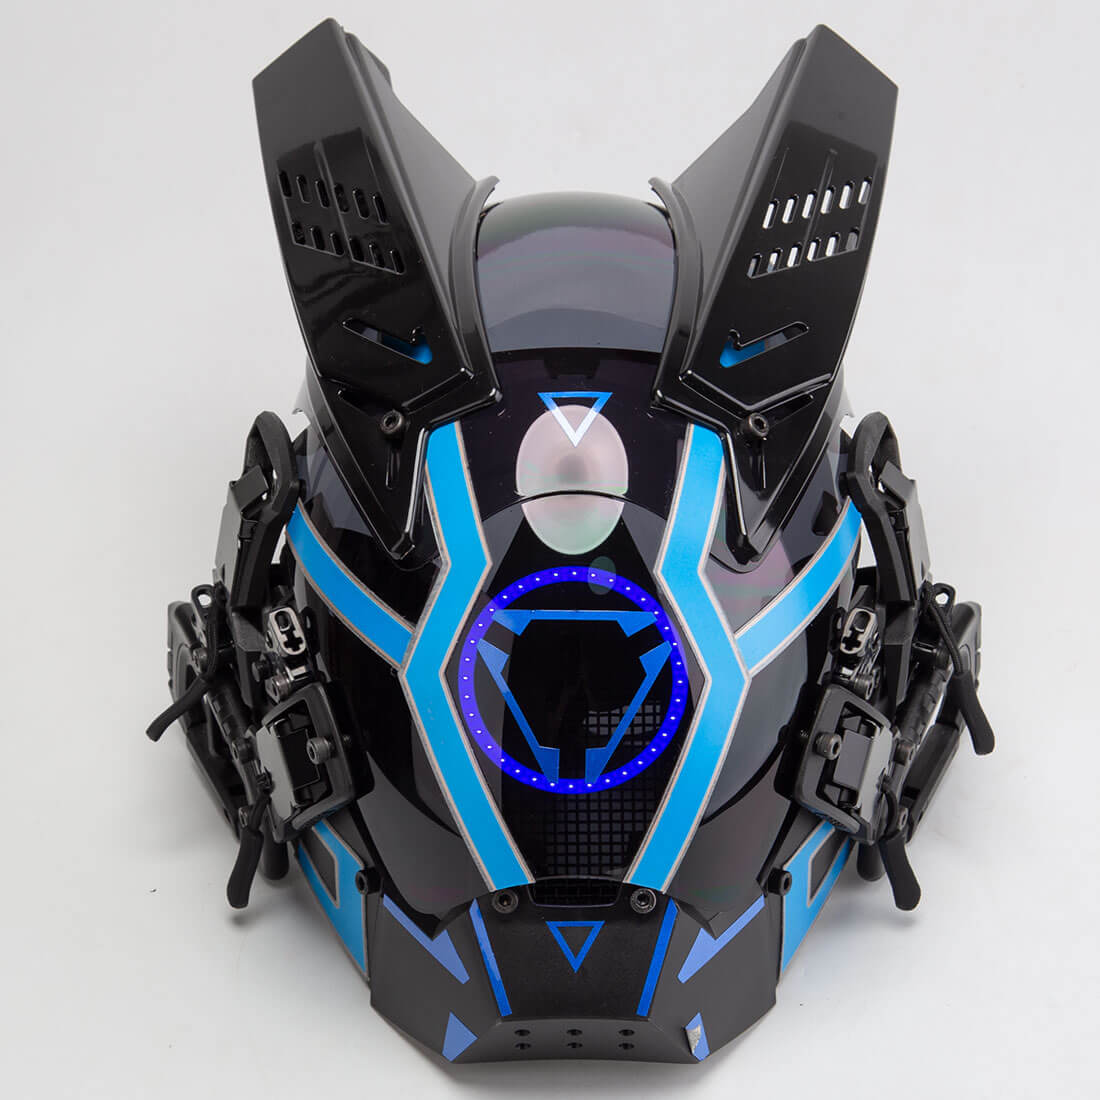
- Your Cyberpunk-style Jagged Mask is now fully assembled, showcasing a unique and captivating appearance (see Figure 9).

And there you have it – your very own cyberpunk mask is now complete! Before wearing it, remember to put on a balaclava mask underneath to ensure your hair remains concealed.


Leave a comment
All blog comments are checked prior to publishing