How To Make Your Own Cyberpunk Mask At Home | Futurfam
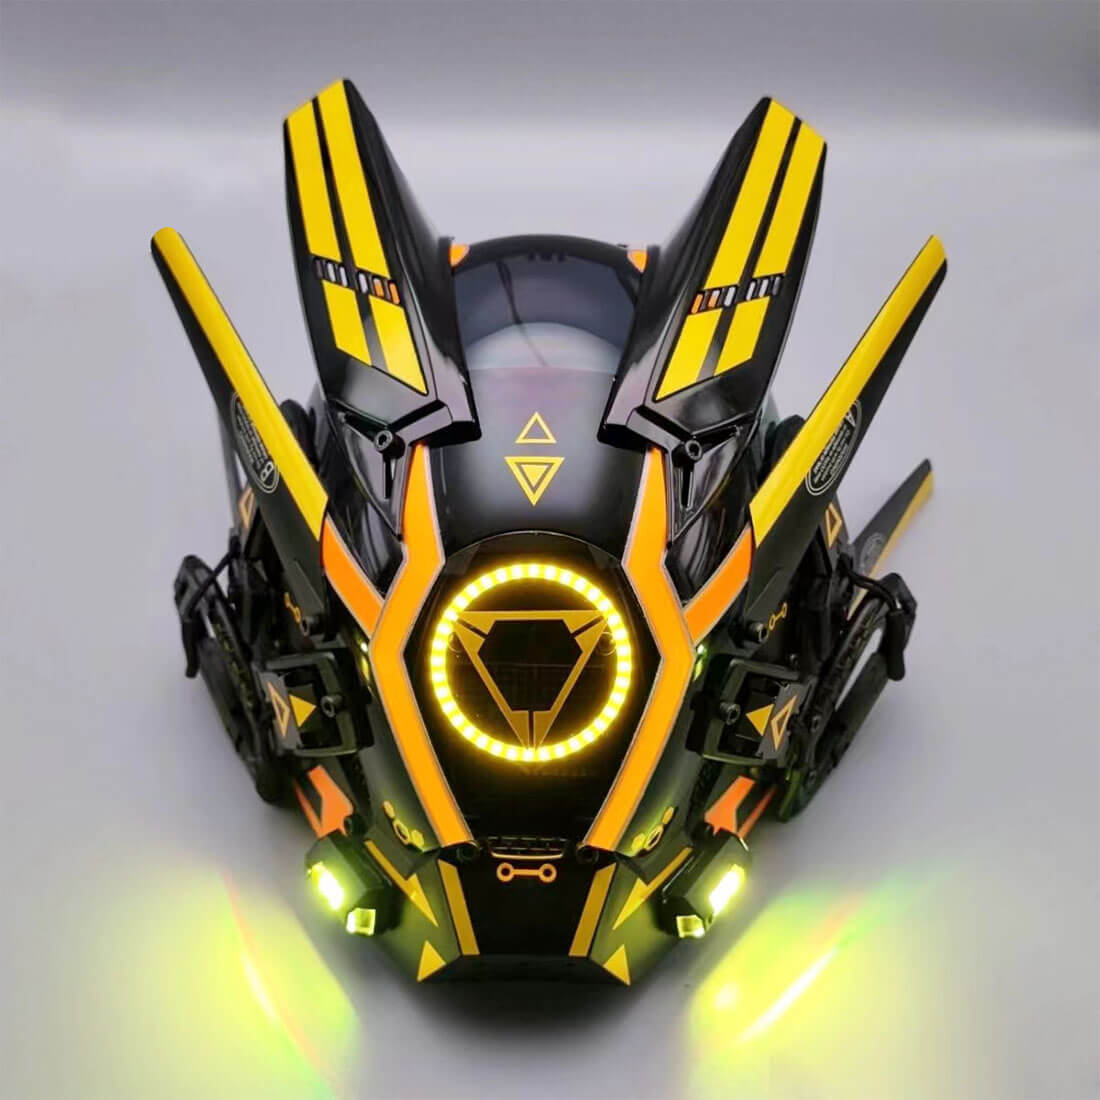
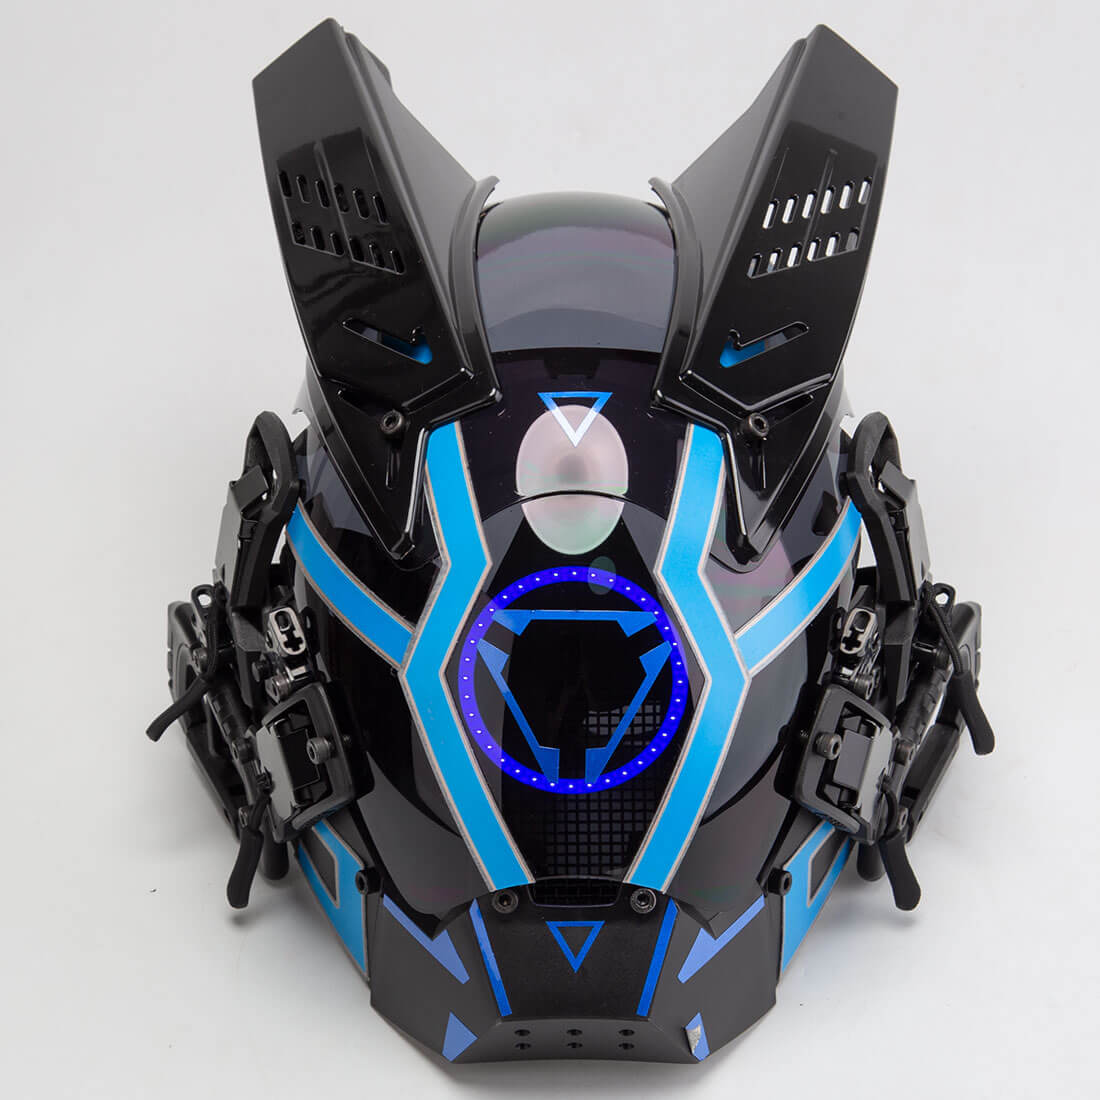
Today, let's dive into the tutorial and create a futuristic CYBERPUNK mask that will surely turn heads!
Materials Needed:
1. Tactical mask (gray color)
2. Face shield (black color)
3. 2 helmet horns (white, to be painted)
4. 18650 battery holder
5. Type C charger module
6. Momentary/tactile switch
7. WS2812B 16-Bit LED
8. controller (Bluetooth enabled)
9. Aquarium pipe (or conduit pipe)
10. Wall panel (for propellers)
11. Vinyl wallpaper (white)
12. Carabiner
13. Various tools (soldering iron, wires, cutting tools, etc.)
Steps:
1. **Preparation and Paint:**
- Begin by painting the tactical mask black for that authentic CYBERPUNK look.

- Remove ear and nose supports from the black face shield.
- Measure and make 2 holes on the mask's side and the face shield.
- Attach the face shield to the mask using black M3 bolts.

2. **Assembling the Electronic Components:**
- Prepare a 18650 battery holder and solder black wires to its compartment.

- Connect the Type C charger module by soldering its cables to the battery compartment (observe positive and negative connections).
- Solder a momentary switch to the K line and NEGATIVE line.
- Connect the WS2812B LED by soldering its wires (black to ground, red to 5V, yellow to DATA IN).
- Disassemble a controller, remove the default cable, and solder the charger module OUTPUT cable to the controller INPUT.
- Solder the 3-pin LED cable onto the controller following the correct pinout.

3. **Testing and Assembly:**
- Test the electronics setup by pressing the switch to turn on and off the LED.
- Detach the face shield and use nano tape to attach the LED to the front of the mask.
- Reattach the face shield and secure the refill module and switch inside.
4. **Creating a Mock Battery:**
- Craft a mock battery using an aquarium pipe or conduit pipe, cut to the size of the 18650 battery.
- Cover the pipe with wall panel material and white vinyl wallpaper to resemble a battery.
- Attach the mock battery to the mask.
5. **Adding Variation:**
- Create a radio-controlled helicopter propeller from wall panel material.
- Paint the propeller white and add custom stickers.

- Attach the propeller and a small propeller under it using spacer bolts.
- Optionally, add WINGLETS for extra flair.
6. **LED Strip Addition:**
- Use a DRL LED housing and WS2812B LED strip to add more lighting effects.
- Solder the LED strip cable to the controller and insert the strip into the housing.
- Attach the housing with the LED strip to the bottom of the battery compartment.
7. **Final Touches:**
- Attach a carabiner for easy portability and storage.
There you have it, your very own CYBERPUNK mask with futuristic LED effects.


Leave a comment
All blog comments are checked prior to publishing